


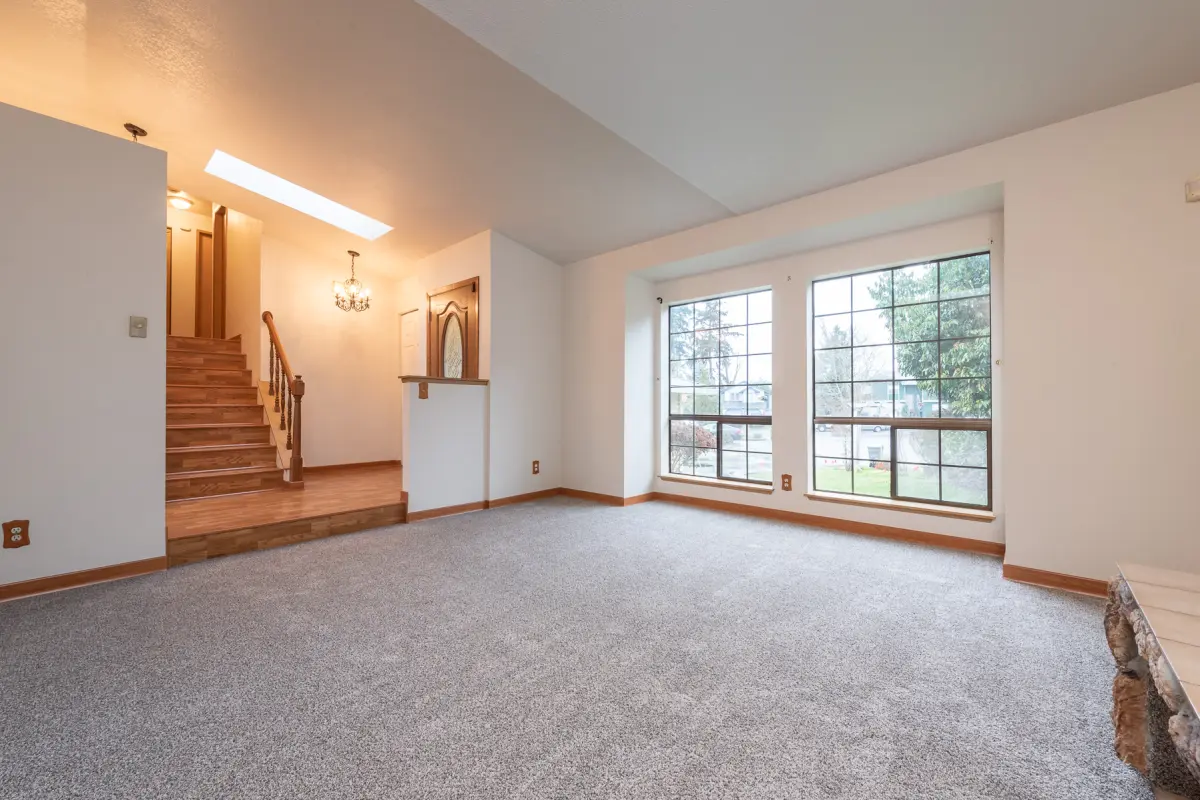
Virtual staging is a powerful tool for enhancing real estate listings by digitally furnishing empty rooms to make them more appealing to potential buyers. While professional virtual staging services are available, many sellers, agents, and investors opt for DIY virtual staging to save costs and retain creative control. To help you achieve professional-looking results, this article provides practical tips and tricks for effective DIY virtual staging.
1. Choose the Right Software

1.1. User-Friendly Interface
Select a virtual staging platform that offers an intuitive and user-friendly interface. Popular options include software like RoomSketcher, Homestyler, and Virtual Staging Lab. These platforms often provide a range of templates and drag-and-drop functionality, making it easier to create stunning images.
1.2. High-Quality Assets
Ensure the software includes a library of high-quality furniture and decor assets. The more realistic and diverse the items, the better your staged images will look. Some platforms also allow you to import custom designs for added personalization.
2. Understand the Target Audience
2.1. Demographic Preferences
Tailor the staging style to your target buyer demographic. For instance, a modern, minimalist design might appeal to young professionals, while a cozy, traditional look could attract families. Research current trends and preferences within your target market to guide your design choices.
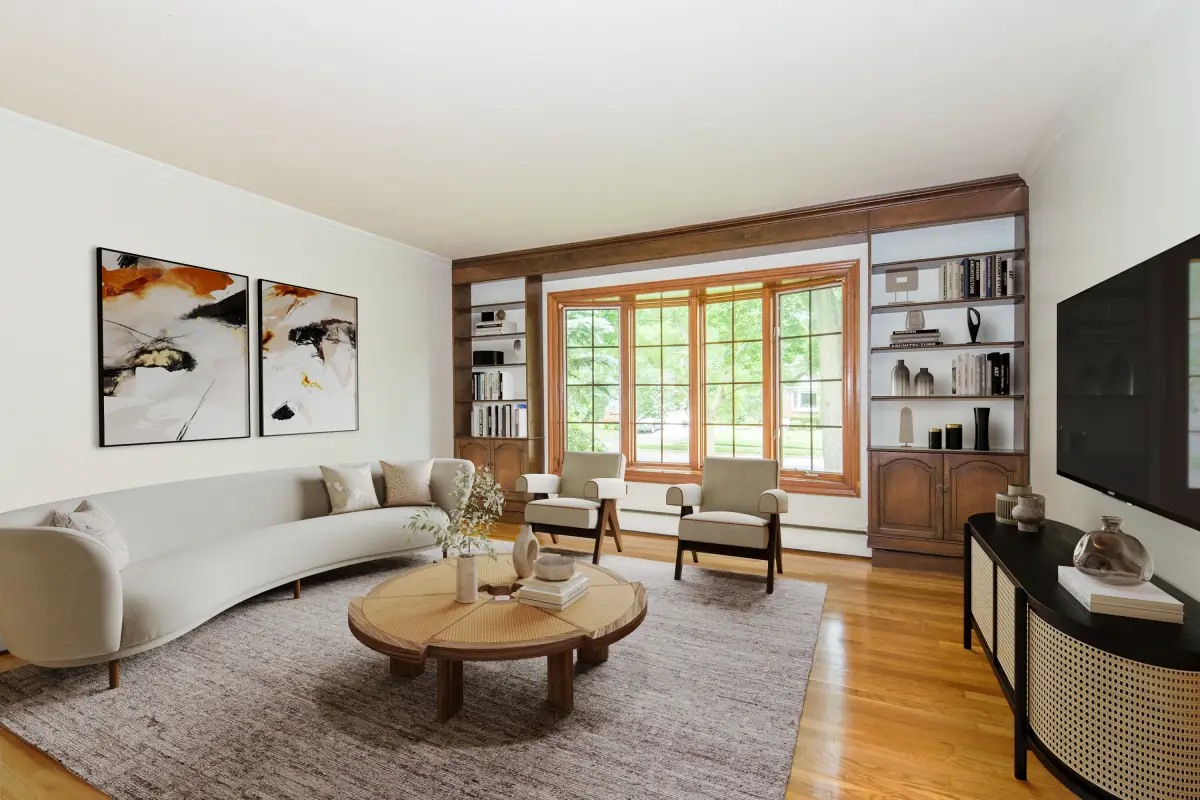
2.2. Highlight Key Features
Identify and emphasize the property’s unique features. Whether it’s a stunning view, a spacious living area, or architectural details, ensure these elements are highlighted in your staging to attract potential buyers’ attention.
3. Focus on Lighting and Perspective
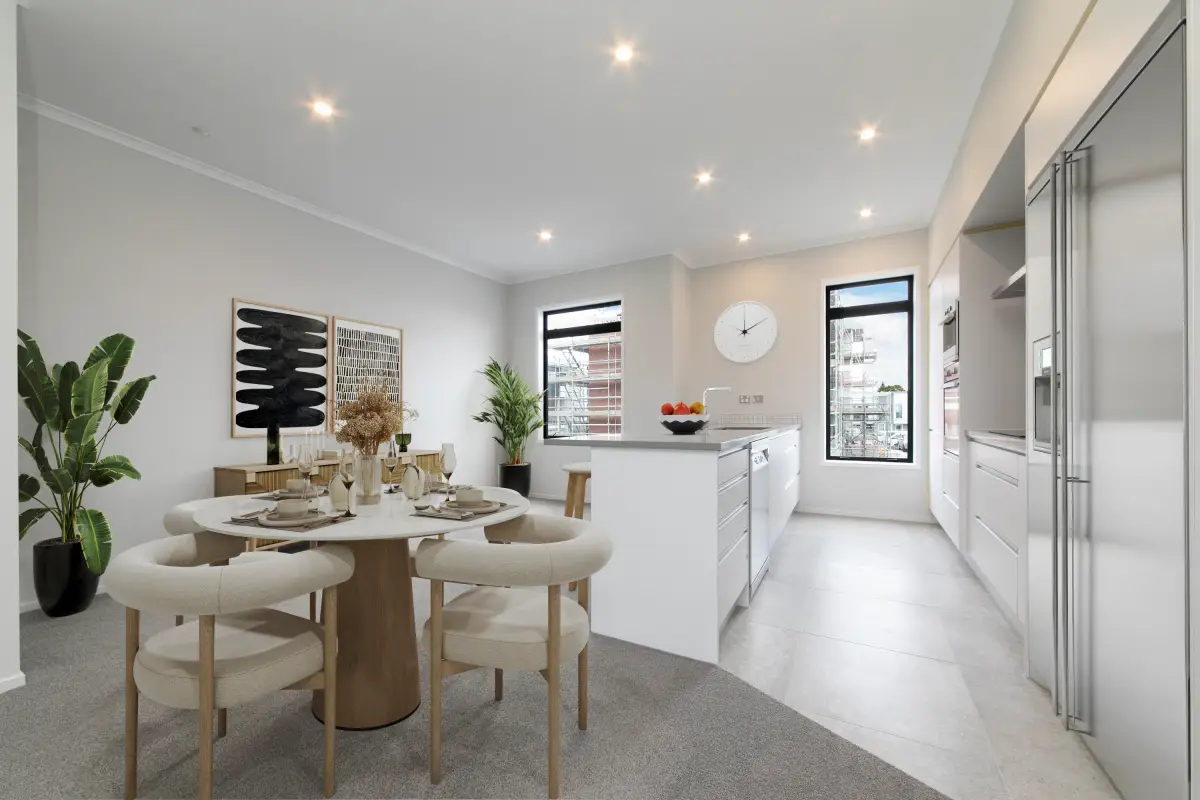
3.1. Natural Light
Maximize the use of natural light in your virtual staging. Bright, well-lit rooms appear more inviting and spacious. Adjust the virtual lighting settings to mimic sunlight, and avoid overly dark or shadowy images.
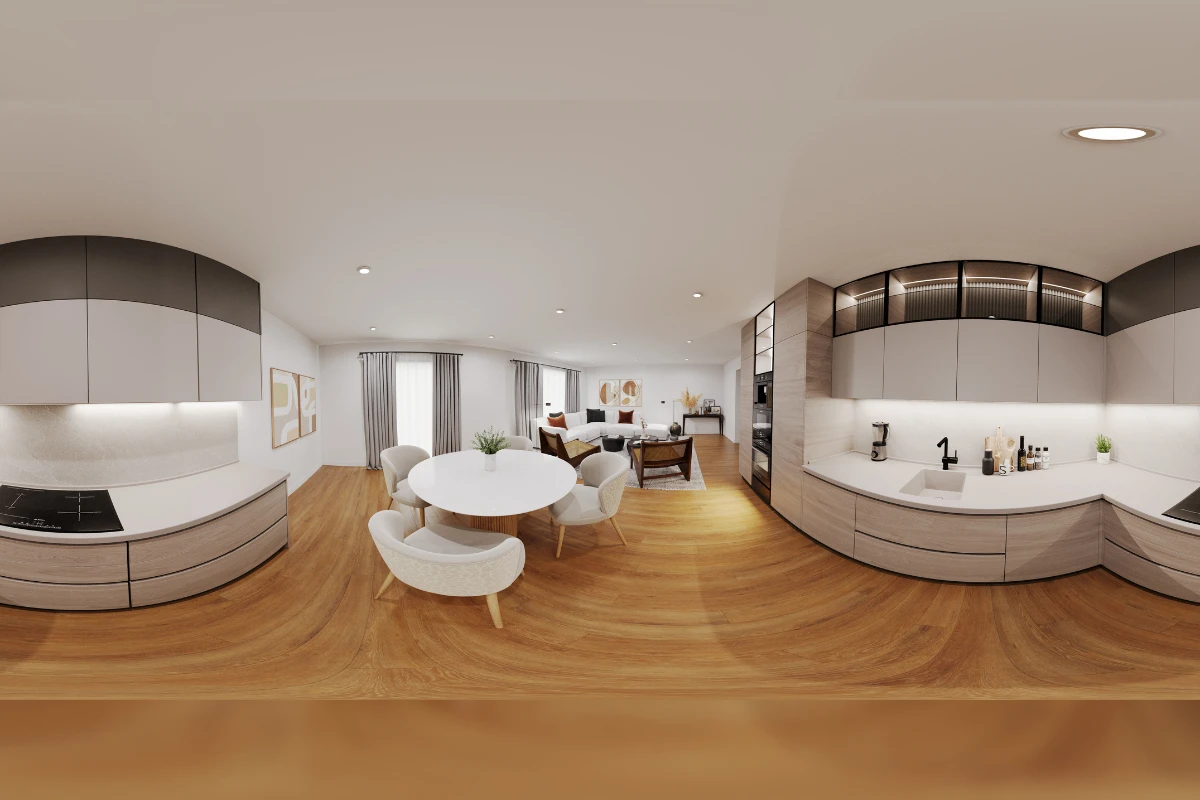
3.2. Consistent Perspective
Maintain a consistent perspective and angle throughout your images. This ensures a cohesive look and helps potential buyers visualize the space better. Use the same camera height and angle for each shot to create a uniform presentation.
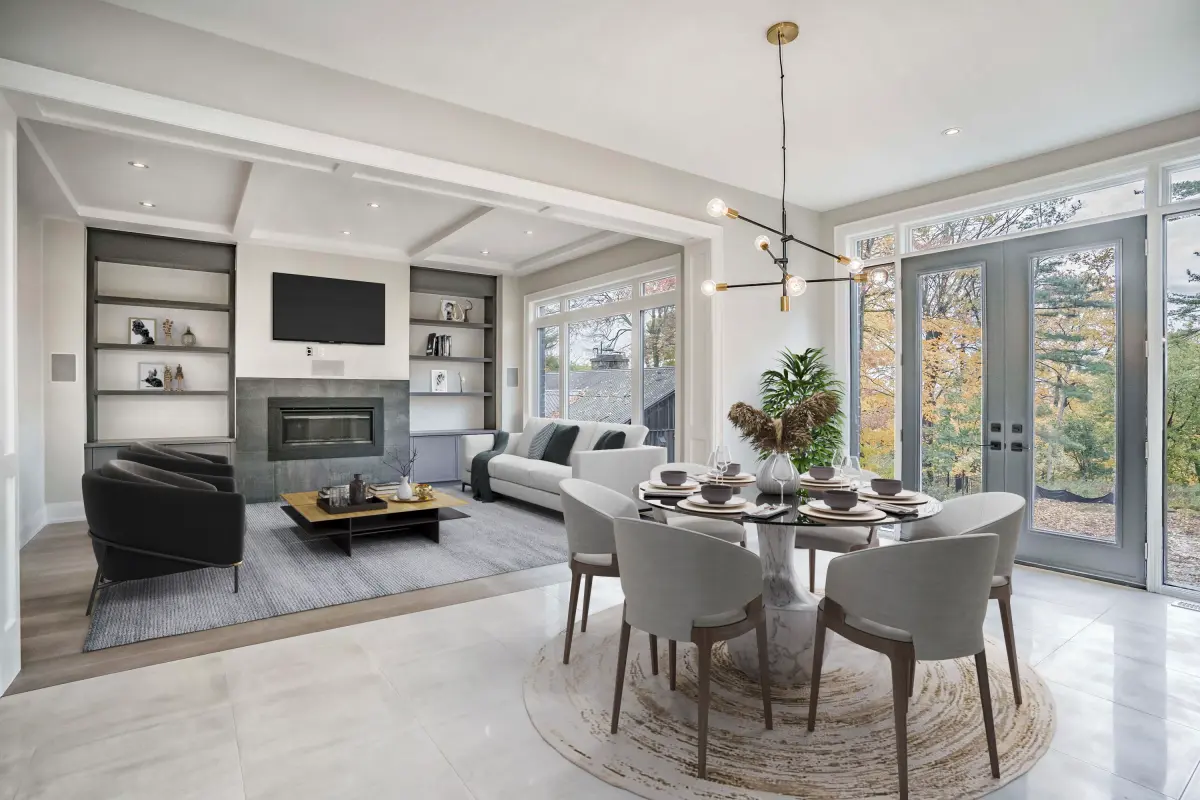
4. Balance and Scale
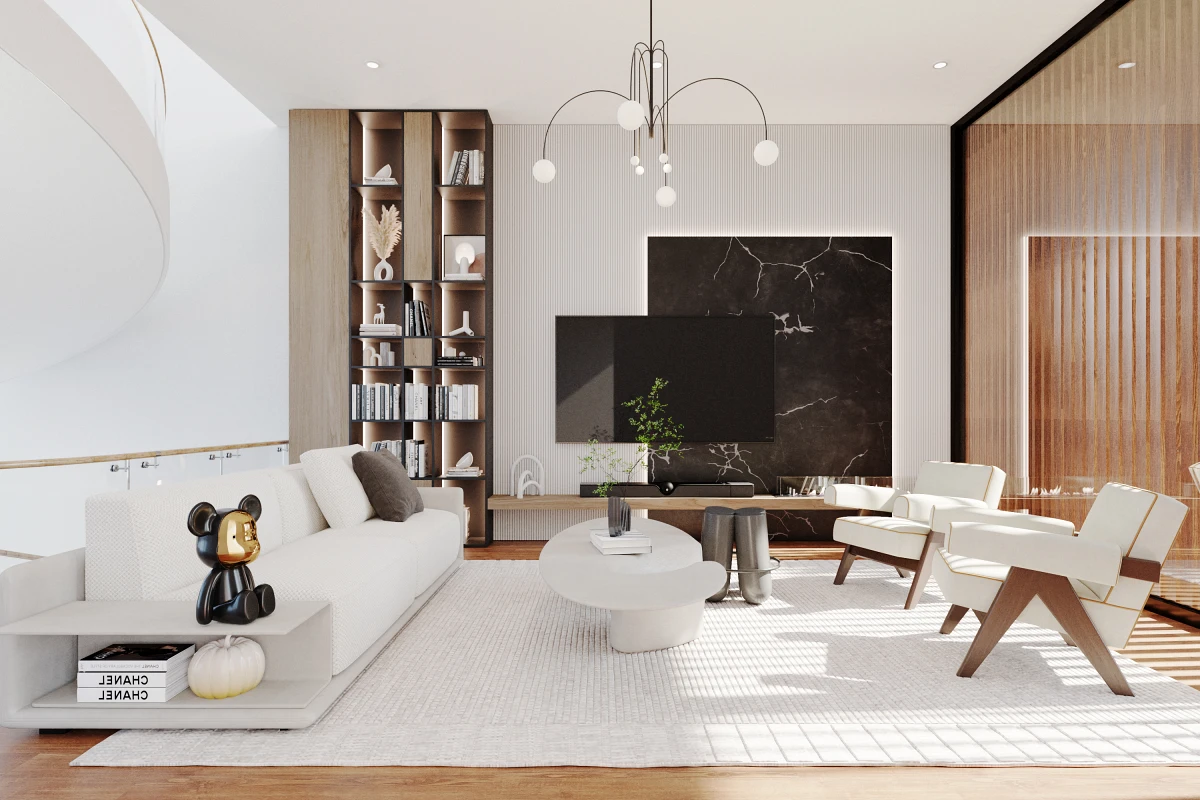
4.1. Proportionate Furniture
Choose furniture and decor that are proportionate to the room’s size. Oversized items can make a space feel cramped, while undersized pieces may leave it looking empty. Pay attention to the scale to create a balanced and harmonious layout.
4.2. Avoid Clutter
Keep the staging simple and avoid clutter. Too many items can overwhelm the viewer and detract from the room’s features. Focus on a few key pieces that enhance the space without overcrowding it.
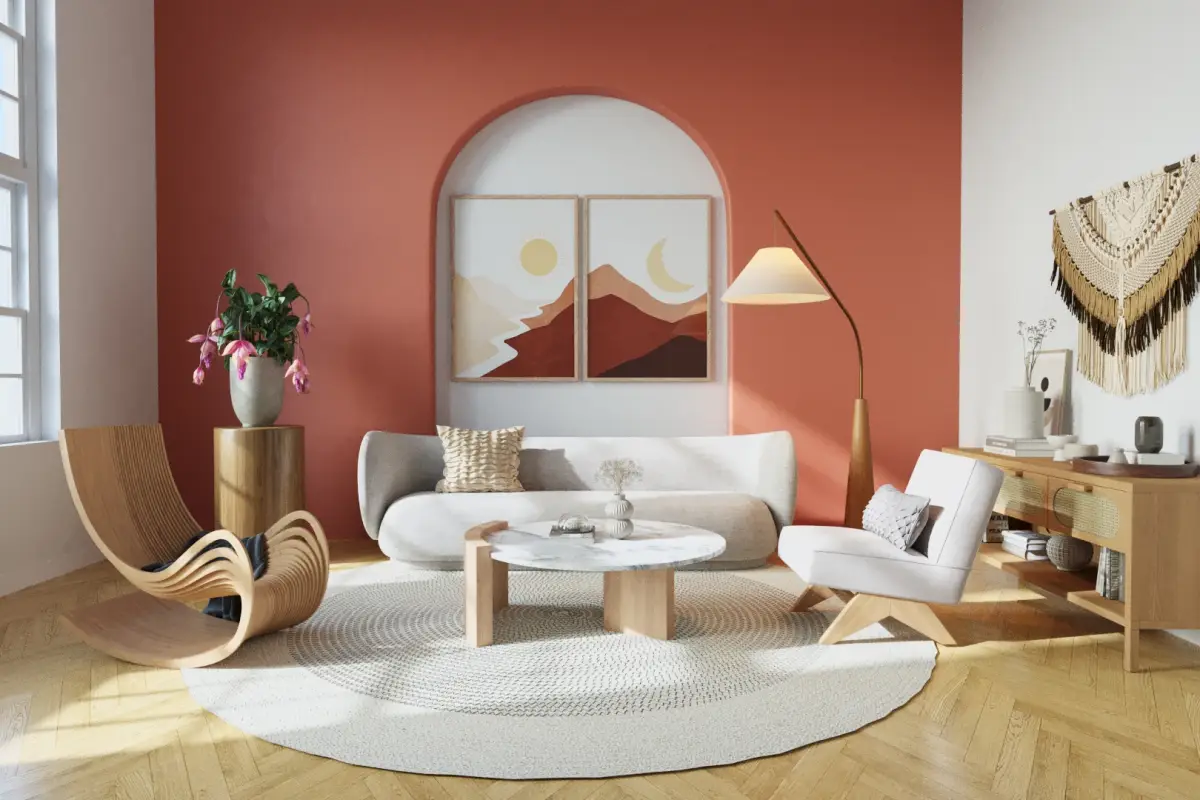
5. Add Personal Touches
5.1. Decorative Accents
Incorporate decorative accents like art, plants, and textiles to add warmth and personality to the space. These elements can make the staged room feel more lived-in and appealing to buyers.
5.2. Color Coordination
Use a cohesive color scheme that complements the room’s existing features and creates a visually pleasing environment. Neutral tones are generally safe choices, but don’t be afraid to add pops of color for interest.
6. Utilize Editing Tools
6.1. Photo Editing Software
After staging, use photo editing software like Adobe Photoshop or GIMP to fine-tune your images. Adjust brightness, contrast, and color balance to enhance the overall appearance. Ensure the final images look polished and professional.
6.2. Remove Imperfections
Clean up any imperfections or distractions in the images. This might include removing unwanted shadows, fixing blemishes, or straightening lines. A clean, flawless image will be more attractive to potential buyers.
7. Test and Get Feedback
7.1. A/B Testing
If possible, create multiple versions of staged rooms and test them with different audiences. A/B testing can provide valuable insights into which designs are more effective in attracting interest.
7.2. Seek Opinions
Get feedback from colleagues, friends, or even potential buyers. Fresh perspectives can help you identify areas for improvement and ensure your staging appeals to a broad audience.
Conclusion
DIY virtual staging can be a cost-effective and flexible way to enhance your real estate listings. By choosing the right software, understanding your target audience, focusing on lighting and perspective, balancing and scaling furniture, adding personal touches, utilizing editing tools, and testing and seeking feedback, you can create professional-looking staged images that attract potential buyers. With practice and attention to detail, DIY virtual staging can become a valuable tool in your real estate marketing strategy.
Betates – Your Best Online Team For Virtual Staging
Ready to transform your property listings? Contact DIY Betates today and discover how our virtual staging platform can elevate your real estate game. Reach out now and let’s create stunning, captivating spaces together!
- Email: [email protected]
- Phone: (+84)34.614.0991